
GMKTEC NucBox G10 16/1TB Silver
not available
Product description
GMKTEC desktop computer with AMD Ryzen 5 3500U 2.10GHz processor, 16GB memory, 1000GB SSD, Windows 11 Professional operating system, . 1 USB 2.0 port, 2 USB 3.0/USB 3.2 Gen1 ports.
GMKtec G10 mini PC User Manual
Model: G10
1. Introduction
Thank you for choosing the GMKtec G10 Mini PC. This compact and powerful desktop computer is designed for a wide range of applications, from office work and home entertainment to light gaming. With an AMD Ryzen 5 3500U processor, 16GB of RAM, and a 512GB SSD, the G10 delivers robust performance in a small form factor. This manual contains basic information for setting up, operating, maintaining and troubleshooting your new Mini PC.
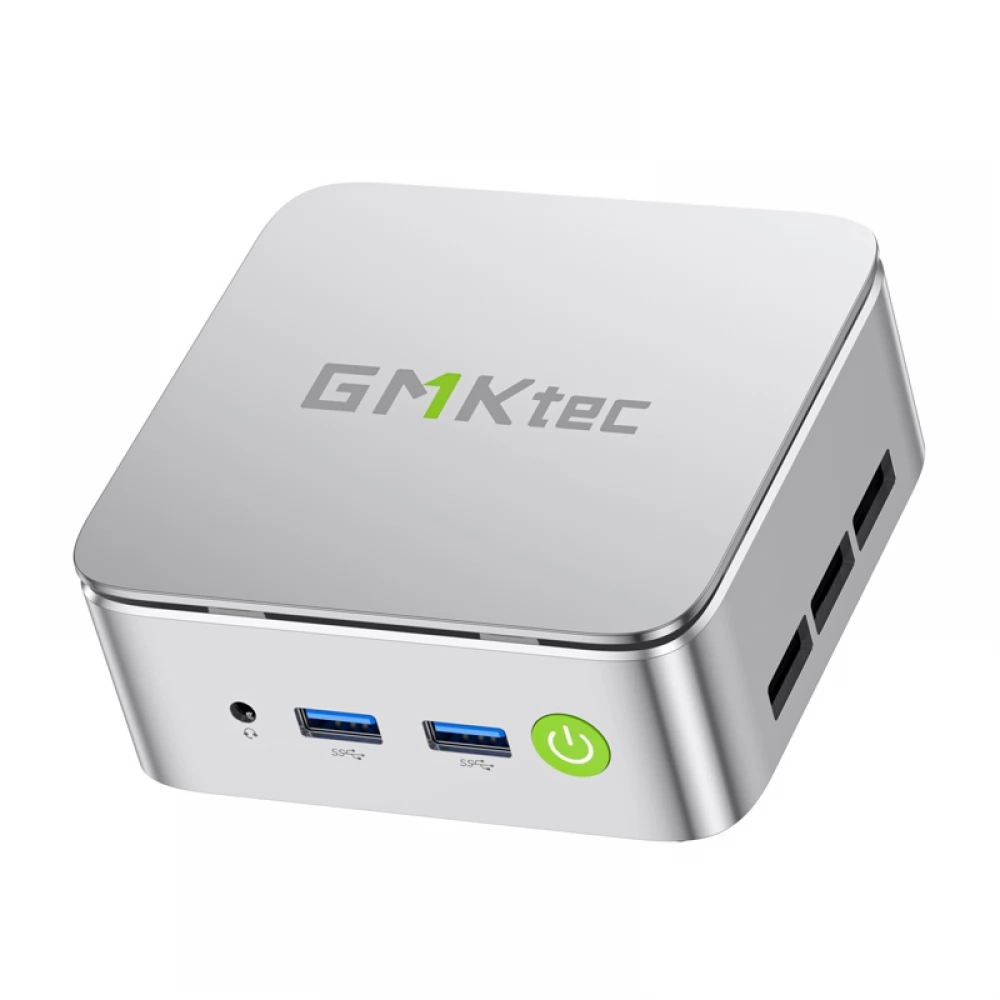
Image: The GMKtec G10 Mini PC, a compact, silver-colored device with front-panel USB ports and a power button.
2. Contents of the box
Please check the contents of the package to make sure you have all the items:
• GMKtec Nucbox G10 AMD Ryzen 5 3500U mini PC computer
• Power supply and cable
• HDMI cable
• VESA mount and screws
• User manual (this document)
Image: All the parts in the GMKtec G10 Mini PC retail package, neatly arranged.
3. Product views
Front page
Image: A close-up of the front of the GMKtec G10 Mini PC, showing the audio jack, two USB 3.2 ports, and the power button.
• Audio Jack (CTIA): Connect headphones or earphones.
• USB 3.2 (5 Gbps) ports (x2): High-speed data transfer peripherals, for example
for keyboards, mice and external drives.
• Power button: Press to power on or off the device.
•
Back panel
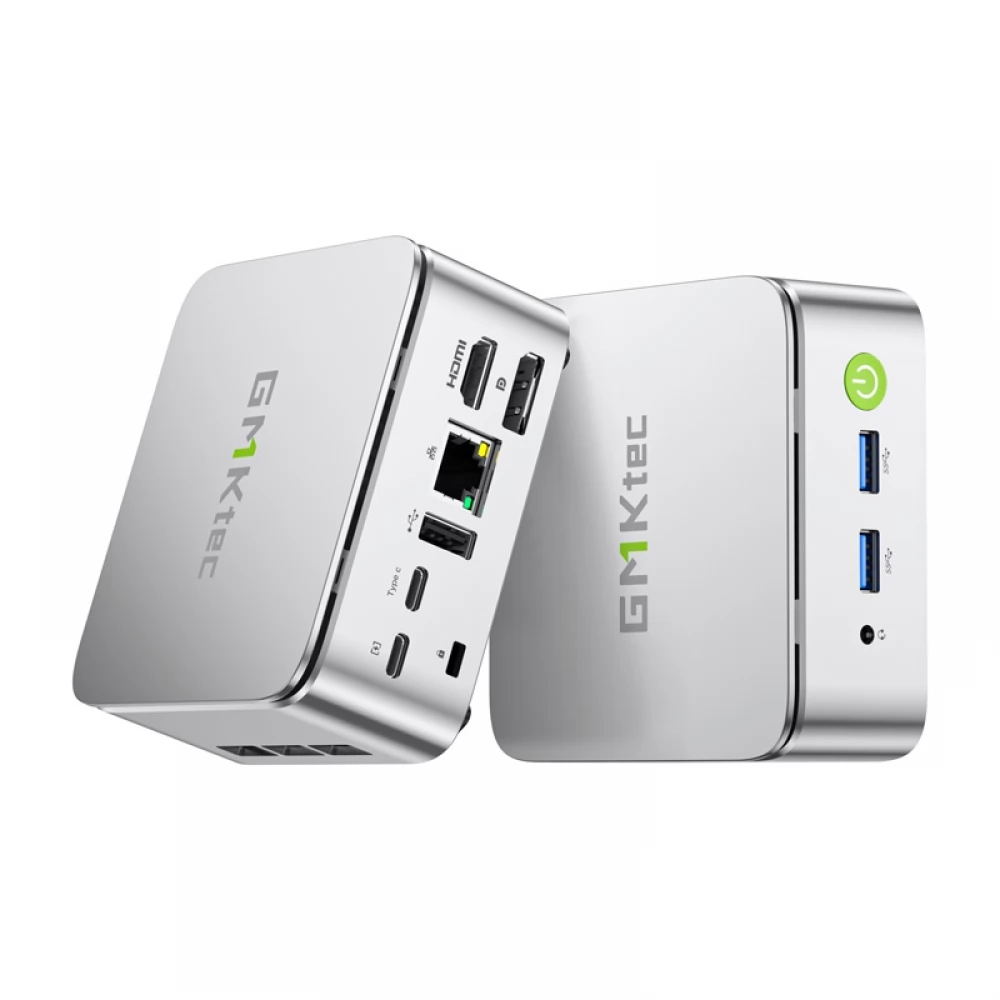
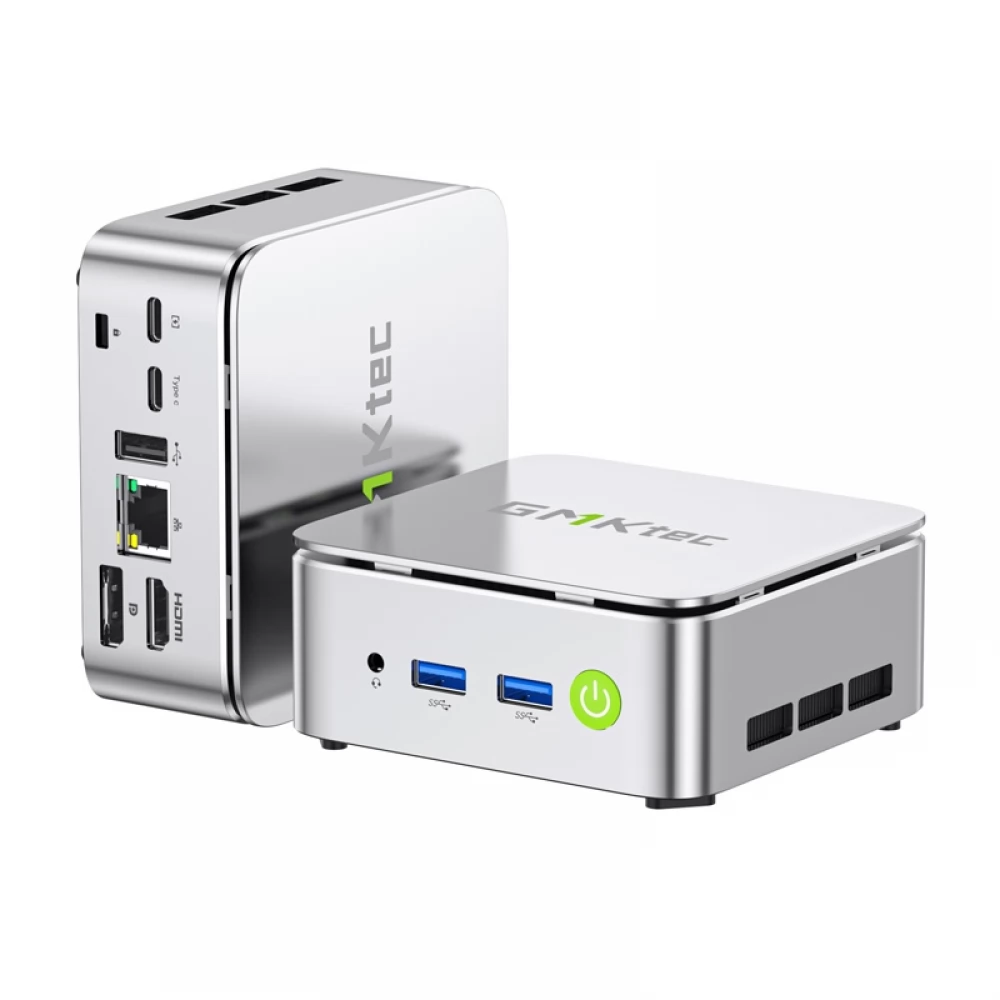
Image: A close-up of the back of the GMKtec G10 Mini PC, showing various connection ports.
• Kensington lock slot: For physical security.
• Type C (PD only): Power supply input
• USB 2.0 port: For standard USB devices.
• Type-C (DP/DATA/PD): Full-featured USB-C port that supports
DisplayPort, data transfer and power supply.
• 2.5G Giga LAN Port: For high-speed wired network connection.
• HDMI 2.1 (4K@60Hz) port: Connect a display with high resolution
for video output.
• DisplayPort 1.4 (4K@60Hz) port: Connect a display with high resolution
for video output.
Image: An overall diagram illustrating all the front and back ports of the GMKtec G10 Mini PC and their functions.
4. Setup guide
Initial connection
1. Connecting to the display: Connect the Mini with the included HDMI cable
PC's HDMI port to the monitor or TV. Alternatively
use the DisplayPort cable or a compatible USB-C to DisplayPort
cable.
2. Connecting peripherals: Connect the USB keyboard and mouse
to free USB ports on the front or back.
3. Connect the power: Connect the power adapter to the Mini PC
to the DC-in port on the back, then plug the power cord into a wall outlet.
4. Power on: Press the power button on the front panel.
The power-on light will be on.
First boot
On first boot, the system guides you through the initial setup process of the pre-installed operating system (Win 10). Follow the on-screen instructions to configure your language, region, network settings, and user accounts.
5. Instructions for use
Energy management
• Power on: Press the power button.
• Shutdown: Select "Shutdown" in the operating system.
Alternatively, press and hold the power button for 5 seconds
for forced shutdown (not recommended for regular use).
• Restart: Select "Restart" in the operating system.
Network connection
• Wired connection: Connect an Ethernet cable to the
between the router/modem and the 2.5G Giga LAN port of the Mini PC.
• Wireless connection (Wi-Fi 5): The Mini PC supports Wi-Fi 5.
Open the network settings of the operating system, select Wi-Fi
network and enter the password.
•
Image: GMKtec G10 Mini PC on a table, showcasing its Wi-Fi, Bluetooth 5.0 and 2.5GbE Ethernet capabilities for stable Internet and peripheral connections.
Multi-screen settings
The GMKtec G10 Mini PC supports up to three 4K displays simultaneously via HDMI 2.1, DisplayPort 1.4 and full-function USB-C ports.
1. Connect the primary monitor to the HDMI port.
2. Connect the second monitor to the DisplayPort connector.
3. Connect your third monitor to the full-featured USB-C port
using a compatible USB-C to DisplayPort/HDMI adapter or cable.
4. The desktop configures the display settings in the operating system
to extend or duplicate it.
Image: For two large monitors
PRICE NOTIFICATION
Recommended for you
Similar products
NOTEBOOK SEARCH
OPINIONS
OPINIONS
